Using Camera Traps to Study Urban Otters: A Research Guide
You do not need a Highland loch to find otters. Spraints turn up under city bridges, footprints run along canal towpaths, and animals slip through dock gates after dark. Proving it is the harder part. Camera traps can do that work for you, but urban sites punish lazy deployment: the wrong height, the wrong angle or a sensitivity setting left on high will hand you a season of blurred foxes and swaying reeds. What follows is how to set up, run and interpret a survey that produces evidence you can defend.
Why urban sites change the method
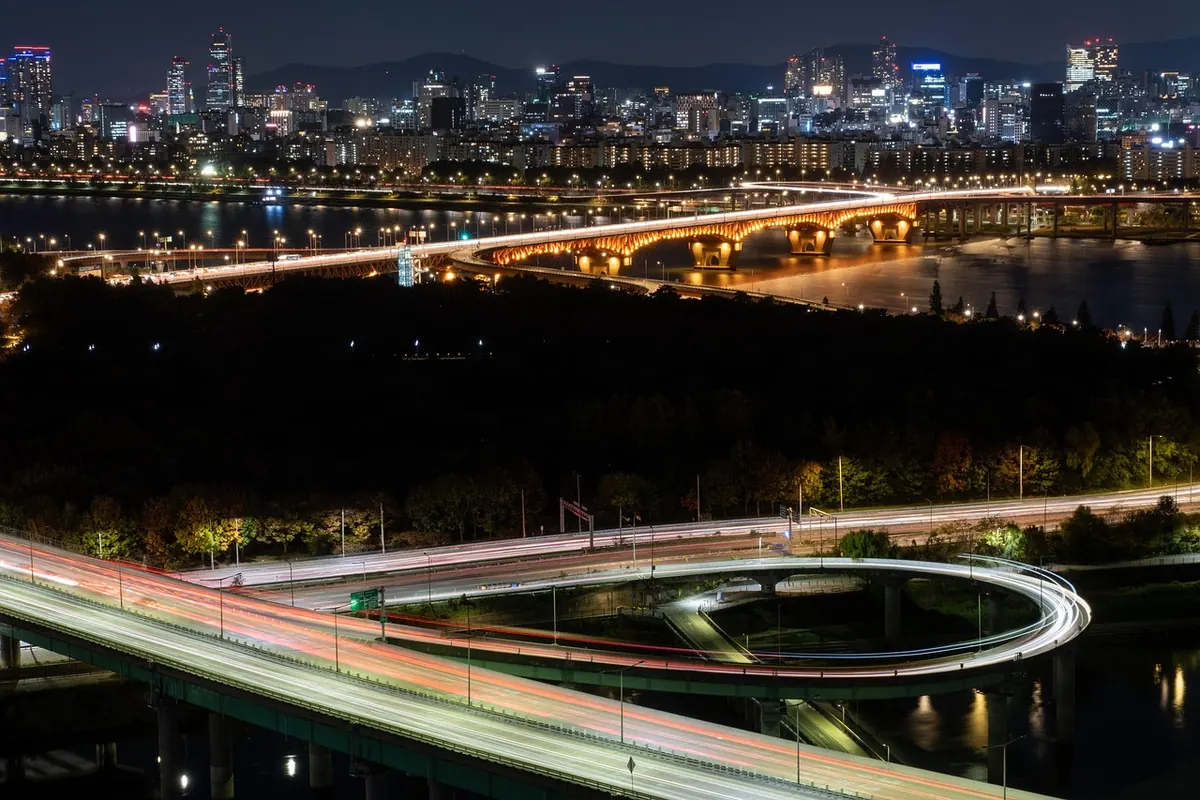
Most town-centre water is linear. A river squeezed between walls, a canal, a culvert under a ring road: otters use these as corridors, so detection rates at genuine pinch points can be high. The problems are different from a rural survey. Footpaths bring people, dogs and bike lights. Streetlamps flare into lenses. Cameras get noticed, moved or taken. And the animals themselves may be more nocturnal in a busy city than on a quiet stretch of coast, which means most of your footage will be infrared.
None of that is a reason to avoid urban work. It is a reason to plan the deployment before you buy anything.
Choosing and configuring kit
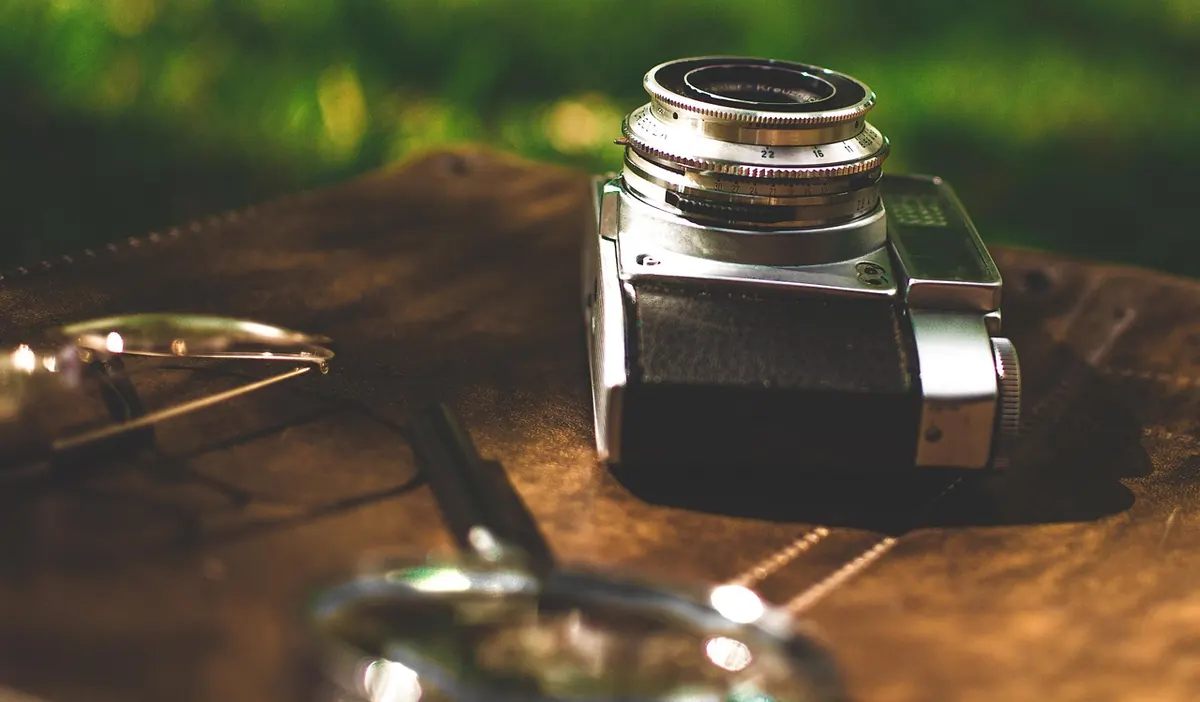
An infrared trail camera is the workhorse: weatherproof, triggered by heat and movement, and capable of weeks of standby on one set of batteries. The main decision is the flash. No-glow models are invisible to the human eye but give greyer night images and shorter range. Low-glow models throw a faint red light. White flash produces colour night images and the best detail for identifying individuals and sex, but a full flash pointed at a resting place is a disturbance risk, and it advertises the camera's position to every passer-by.
Settings worth getting right
- Video plus photo. A ten or twenty second clip captures gait and behaviour; a still image is easier to catalogue and timestamp.
- Trigger interval. Keep it short, a few seconds at most, or you will miss the second animal following the first.
- Sensitivity. Medium. High sensitivity aimed over moving water or reeds will produce thousands of empty frames.
- Clock and timestamp. Set both, use 24-hour format, and check them at every visit. Tides, shifts and activity patterns are only useful if the times are true.
- Card and batteries. Format the card in the camera, not on a laptop, and carry spares.
Where to put a camera, and how to keep it there
Mount the camera low, roughly knee height, and aim it across the water at a slight angle rather than straight along the corridor. An otter walking directly towards a lens often triggers it late, or not until it is past. Face the camera away from sunrise and sunset, and away from lamps that will flare at night. Clear the vegetation in front of the sensor and avoid overhanging branches, which swing in the wind and fill your card with nothing.
Good urban positions tend to fall into a few categories:
- The dark apron of bank under a road bridge, where spraints accumulate.
- Culverts, outfalls and storm drains, which force animals through a narrow gap.
- Below weirs and at confluences, where fish gather.
- Canal locks, marinas and dock gates.
- Gaps in revetment walls, and runs or slides in rough grass.
Secure every camera with a cable lock through the housing and a padlock on the bracket. A laminated card giving a contact number and a sentence explaining the survey reduces tampering more than concealment does. Keep cameras off eye-level footpaths where possible; a lens looking at the water rather than at faces is both more productive and less intrusive.
Reading the footage: otter, mink or moggy?
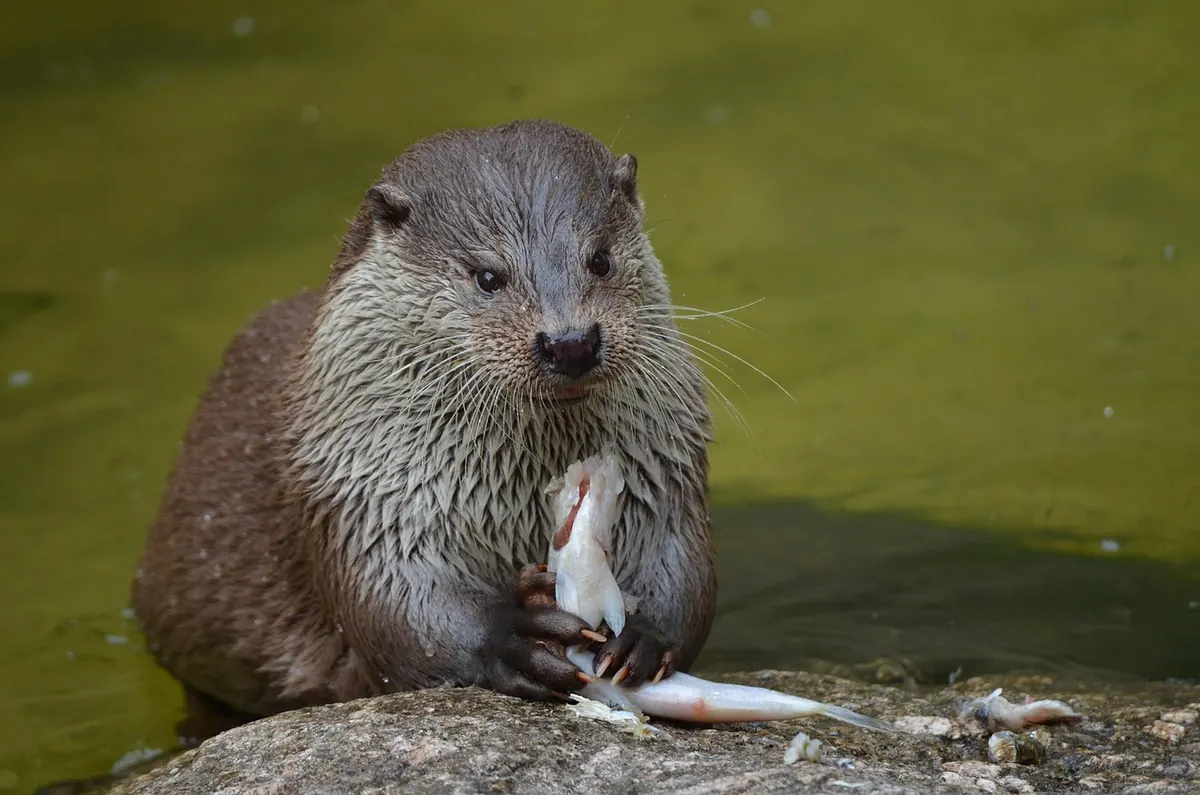
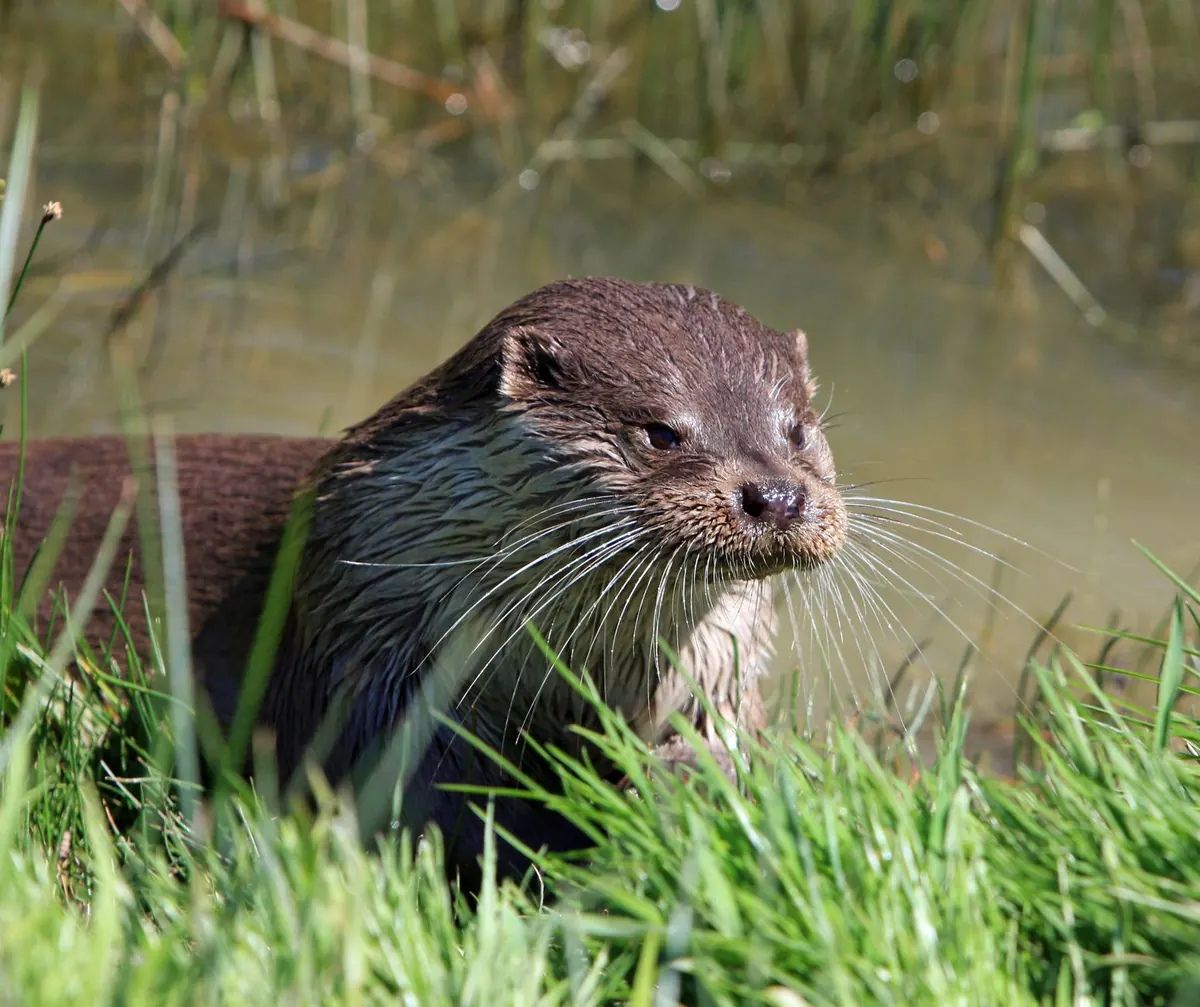
In daylight, an otter is unmistakable once you know the shape: a broad, flat head, a thick tail base tapering away, short legs and a long, low body that seems to pour over the bank. Look for the bounding gait, sometimes described as a series of humps, and for sprainting behaviour, a squat and a deposit at a prominent stone or ledge. Mink are smaller, uniformly dark with a slim tail and a bouncier, more frantic movement, and they are far more likely to appear in the middle of the day. Cats carry their tails up and have high shoulders; foxes have a brush and pointed ears.
Night footage is harder. Work through the whole sequence rather than judging a single frame, and check the time. If an animal of the right build appears within a minute or two of a sprainting event at a site where you have already found spraints, you can be reasonably confident. Note, too, that otters often trigger cameras as a pair or a family group, so resist the temptation to assume the same animal has walked past twice.
Turning images into data
A camera trap survey is only as good as its effort record. Report results as detection rates per hundred camera-nights, with the exact deployment dates, and define an independent event before you start: the common convention is to count records separated by at least thirty minutes as separate events. Never treat a blank night as proof of absence. Otters are thin on the ground and detection is imperfect, so a single camera at a single site will miss animals that are there.
- Write down your question first. Presence or absence, activity timing, and site use need different designs.
- Divide the watercourse into reaches of similar length and habitat before you choose sites, so your sampling is not simply your favourite bridge.
- Pair cameras where you can: one on a known spraint site, one at a randomly selected point, to compare.
- Deploy in blocks of two to four weeks and check weekly. Batteries and cards fail quietly.
- Log everything in one spreadsheet: site, date, time, species, behaviour, camera settings, hours of effort.
- Repeat in a later season if you want to say anything about trends.
Identifying individual otters from photographs is tempting and usually unreliable. Most British otters lack obvious, stable markings, so treat minimum counts with caution and describe them as such.
People, permissions and protection
You will normally need permission from whoever controls the bank: the riparian owner, an angling club, the council, or the canal and river authority. Cameras in public places also raise data protection questions, because they record people. Fixed cameras in public spaces capture personal data, so keep them framed on the water, put up a sign, and be ready to explain how images are stored and how quickly they are deleted. Avoid pointing a camera at private gardens or windows.
Otters and their resting places are legally protected across the UK, and disturbing a holt generally requires a licence. Before any work near a suspected holt, check the current rules with the relevant statutory conservation body for your nation and follow their advice. If your project touches planning, licensing or protected species law, take professional advice rather than relying on a website.
A practical first season
Start small and finish something. Two cameras, one reach, four weeks. Walk the site first and record every spraint you find, with a grid reference and a photograph. Deploy, check weekly, keep the log honest. At the end you will have a detection rate, a set of images, and a clear idea of where a second season should go. That is a far better result than six cameras spread over twenty kilometres, none of them checked properly, and a hard drive full of unlabelled clips.
Photo: fotografierende / Pixabay